1-888-553-8776
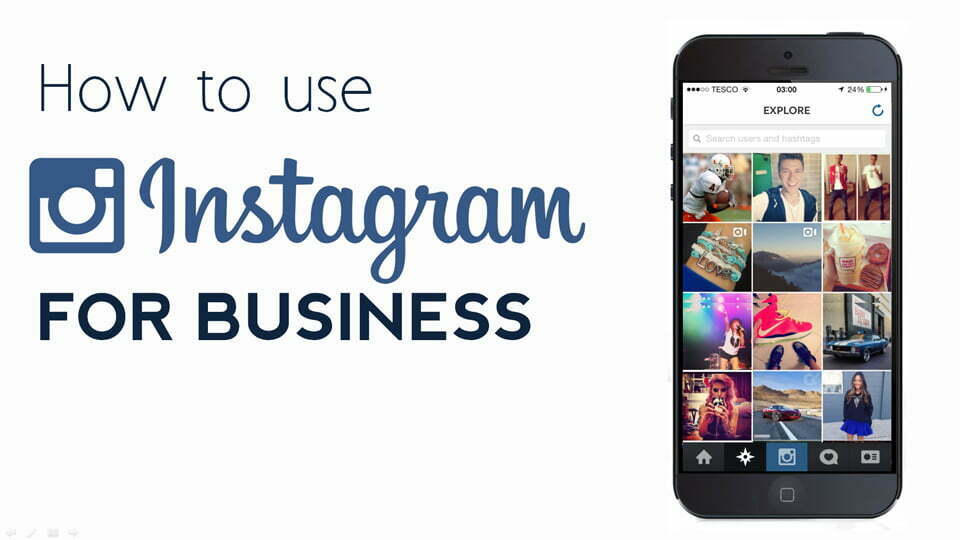
Tutorial : Setting up an Instagram account for your business

Over 300 million active accounts are on Instagram, so it isn’t just a niche social networking site anymore; it’s a force to be reckoned with, and one that your business should certainly use. It’s a streamlined platform that drops the features of competing social network sites and focuses exclusively on the visual. Photo sharing and not recently supported, video, is what Instagram is all about. You can tell graphically rich and inspiring stories about your business and brand through images and video. Because other social networking sites are placing increased importance on photo and video posts, Instagram is the best complementary network to in your marketing strategy for ease of cross-posting content.

For those of you who are using Instagram already in your business marketing strategy, this guide will help you build your brand’s identity on Instagram and grow your follower count. So let’s do this, here is how to set up an instagram business account and get started down the right path to getting your business known on social media.
Unlike other social networks, Instagram is strongly app-based. Pull out your smartphone, find Instagram in your app store and download.
While it might make sense at first to just log in with your Facebook account…DON’T! That will immediately create an account based on your personal Facebook page. Since this is for your business, go ahead and use your business email address.
Pro Tip: Use your personal work email address. Just like you, have your address saved in their phones or have their email connected to their address books. Either way, when one of your contacts uses Instagram’s “Find Friends” feature, you want to show up on that list. Thus, your direct work email address will get you the most hits.

On the next screen, you’ll be asked to create a username and password, as well as setting your profile image. These are two of the most important steps because they secure your brand’s name and makes it easy for people to find and follow you.
On the very same screen, click on the +Photo button at the top of the screen, where you set your thumbnail icon. Choose a large version of your logo or something really recognizable that’s associated with your brand. The size of the +Photo circle will literally be the size of your profile picture. After that, you’ll get a few import options. Don’t import from Facebook; that will pull in your personal account and not your business page, which you want. You can import from Twitter, as long as it’s your business page.
Personally, I would go with either “Take Photo” or “Choose from Library” and get a fresh picture for your profile. Maybe you have a coffee mug with your logo on it or a really recognizable office. Or if you’re the face of your business, grab a headshot you like from your photos on your phone or take a new one.
After you finish this, you’ll be asked to enter your information. If your business is up and running, use your business name here. If you’re the face of your business, you can use your personal name. Use the phone number you believe your customers would most likely have in their phone book. It’s important to maximize the exposure of your account through the tools that Instagram provides.
The next screen will ask try and get you to find people to follow. Don’t do this step yet. It’s best to have a photo or two posted before you start following people, giving them some incentive to follow you back. If you follow them now, they won’t see anything on your account. Just click “skip” for now.
Now that you have the app installed, what you’ll see first is the home screen. Once you start following people, their photos will appear here. A quick tour of the buttons from left to right:
-Home: See the latest photos from people you follow.
-Search: Look up people, places, things and hashtags, as well as see what other people are favoriting.
-Camera: Tap here to start sharing.
-Notifications: See the most recent people to follow your account and favorite your photos.
-Profile: Your full account, everything you’ve posted and access to the settings menu.
Tap on the profile button on the bottom right to see your account, then tap on the “Edit Your Profile” button at the top of the page. This is where you complete your profile.
Make sure that you properly fill out the website and bio fields, this is the only place on Instagram that allows you to use a URL. If you wanted to post a URL in the text section of the photo that you are sharing, people who see it will not be able to click it. Instagram wants you generally to stay inside the app, but they allow this here in this case, so use it! And with your bio, just like other social media platforms, they limit your character count. Talk about what you do and where you’re located, interesting facts that have to do with your company, ect. Just to have something down for now as you’re building your profile.
The very last thing you should set up is your social sharing. Instagram is a good tool to use to easily get your photos in multiple places without a ton of work. Go ahead and tap the gear icon in the upper righthand corner and then “Linked Accounts.” Once in there, you can go ahead and connect your Twitter and Facebook accounts. After you log into your Facebook account, you’ll want to make sure you specify that you want to share to your Business Page and not your profile. Tap “Share to” and then select the right page. I manage a lot of Facebook pages, so I want to make sure to choose the right account. In this case, I’ve selected OutboundEngine.

It’s always good to have a photo or two posted to your account before you start following people. That way, when they get the notification that you followed them, when they see your profile, your photos are there for them to see and like. To post, tap on the camera icon at the bottom of the screen to open the camera. For our first photo around the office, I picked out a foam hand we used at a sporting event. Tap the big blue button to take the picture.
On the next screen, you’ll see a bunch of filter choices. Instagram is known for its filter selection, and playing around in here can make even the most novice photographer look like a pro. Play around with filters and settings until you like what you see. For this photo, I’m using the Ludwig filter because it makes the orange in our logo pop.
Make sure you keep your captions fun and brief, but include just enough info to capture the moment. You’ll also get points for being clever. But always use hashtags, the more you use Instagram, the more you’ll see that these are used by many people. It’s a great way to get your pictures(and account) discovered. For this post, I’m using a few, one of them being #ATX, which is popularly used for posts about the city of Austin. Also check out Top hashtags to see what’s trending on Instagram. Keep in mind, though, that the most popular hashtags will also be the most bloated and used, so if your strategy is to target a particular niche, consider using a more specific hashtag.
As I mentioned earlier, Instagram is a great way to help you save time. You can snap and edit photos through the app and then share them to Facebook and Twitter with just a few taps. There are two ways to do this. The first way you can see in the image used in step 11. Just tap the Facebook and Twitter buttons below your caption.
The other way is to share to your social networks after the fact. I recommend this way because you’ll probably want to change the photo caption to remove all the hashtags you added prior to sharing. To do this, tap on the three dots in the lower right corner of a photo you’ve posted. This will bring up some options for you. Tap Share. On this next page, go ahead and remove the hashtags from the original post. They’re not as popular on other social networks as they are on Instagram. One caveat here: if the hashtag is specific to an event (as in the case of this example, #startupgames), leave that alone because you want your post seenby others. When you’re ready, select Facebook and Twitter and tap share in the upper right corner.

Now that you’ve got some content posted, it’s time for you to start following people so they start following you back. From your profile page (tap the bottom right corner icon), go to the options page (gear in the upper right corner).
From here, there are two options you should use at the top:
Find Facebook Friends
Find Contacts
Tap any of these and Instagram will connect to Facebook and your address book. This is good for you as a business because if you’ve got your past clients and connections stored in your phone, you’ll be able to see their accounts. Instagram will immediately pull up all your friends on Instagram that are stored in your contacts list or logged in using Facebook. Find a few to follow and see what sort of response you get. This is how you get people to start following you back. As you post more to the network and follow more people, you can check your activity page (heart icon at the bottom of the screen) to see who has liked your photos, started following you, or mentioned you.
Once you’re set up and ready to go, it’s important to decide what your brand’s purpose on Instagram should be. A company like Google already has its brand identity established, Being known for its cool offices and culture, it focuses its account on recruitment. However, someone like a real estate agent might be interested more in establishing a positive public perception through photos.
I’ve put together an intermediate guide to Instagram for businesses that you should check out to help you define what your purpose should be. Click the banner below to download your copy.
Lastly, there’s only so much ground work you can do to grow your account. Add it to your website, in your email signature and more. Instagram has a lovely collection of badges to help you promote your account.
Instagram is a great social network. It’s colorful, visual, and popular. This tutorial gives you the basics of the platform, so take what you learned and get your business loaded up on Instagram!