 1-888-553-8776
Product Photography Tips
General Product Photography Tips
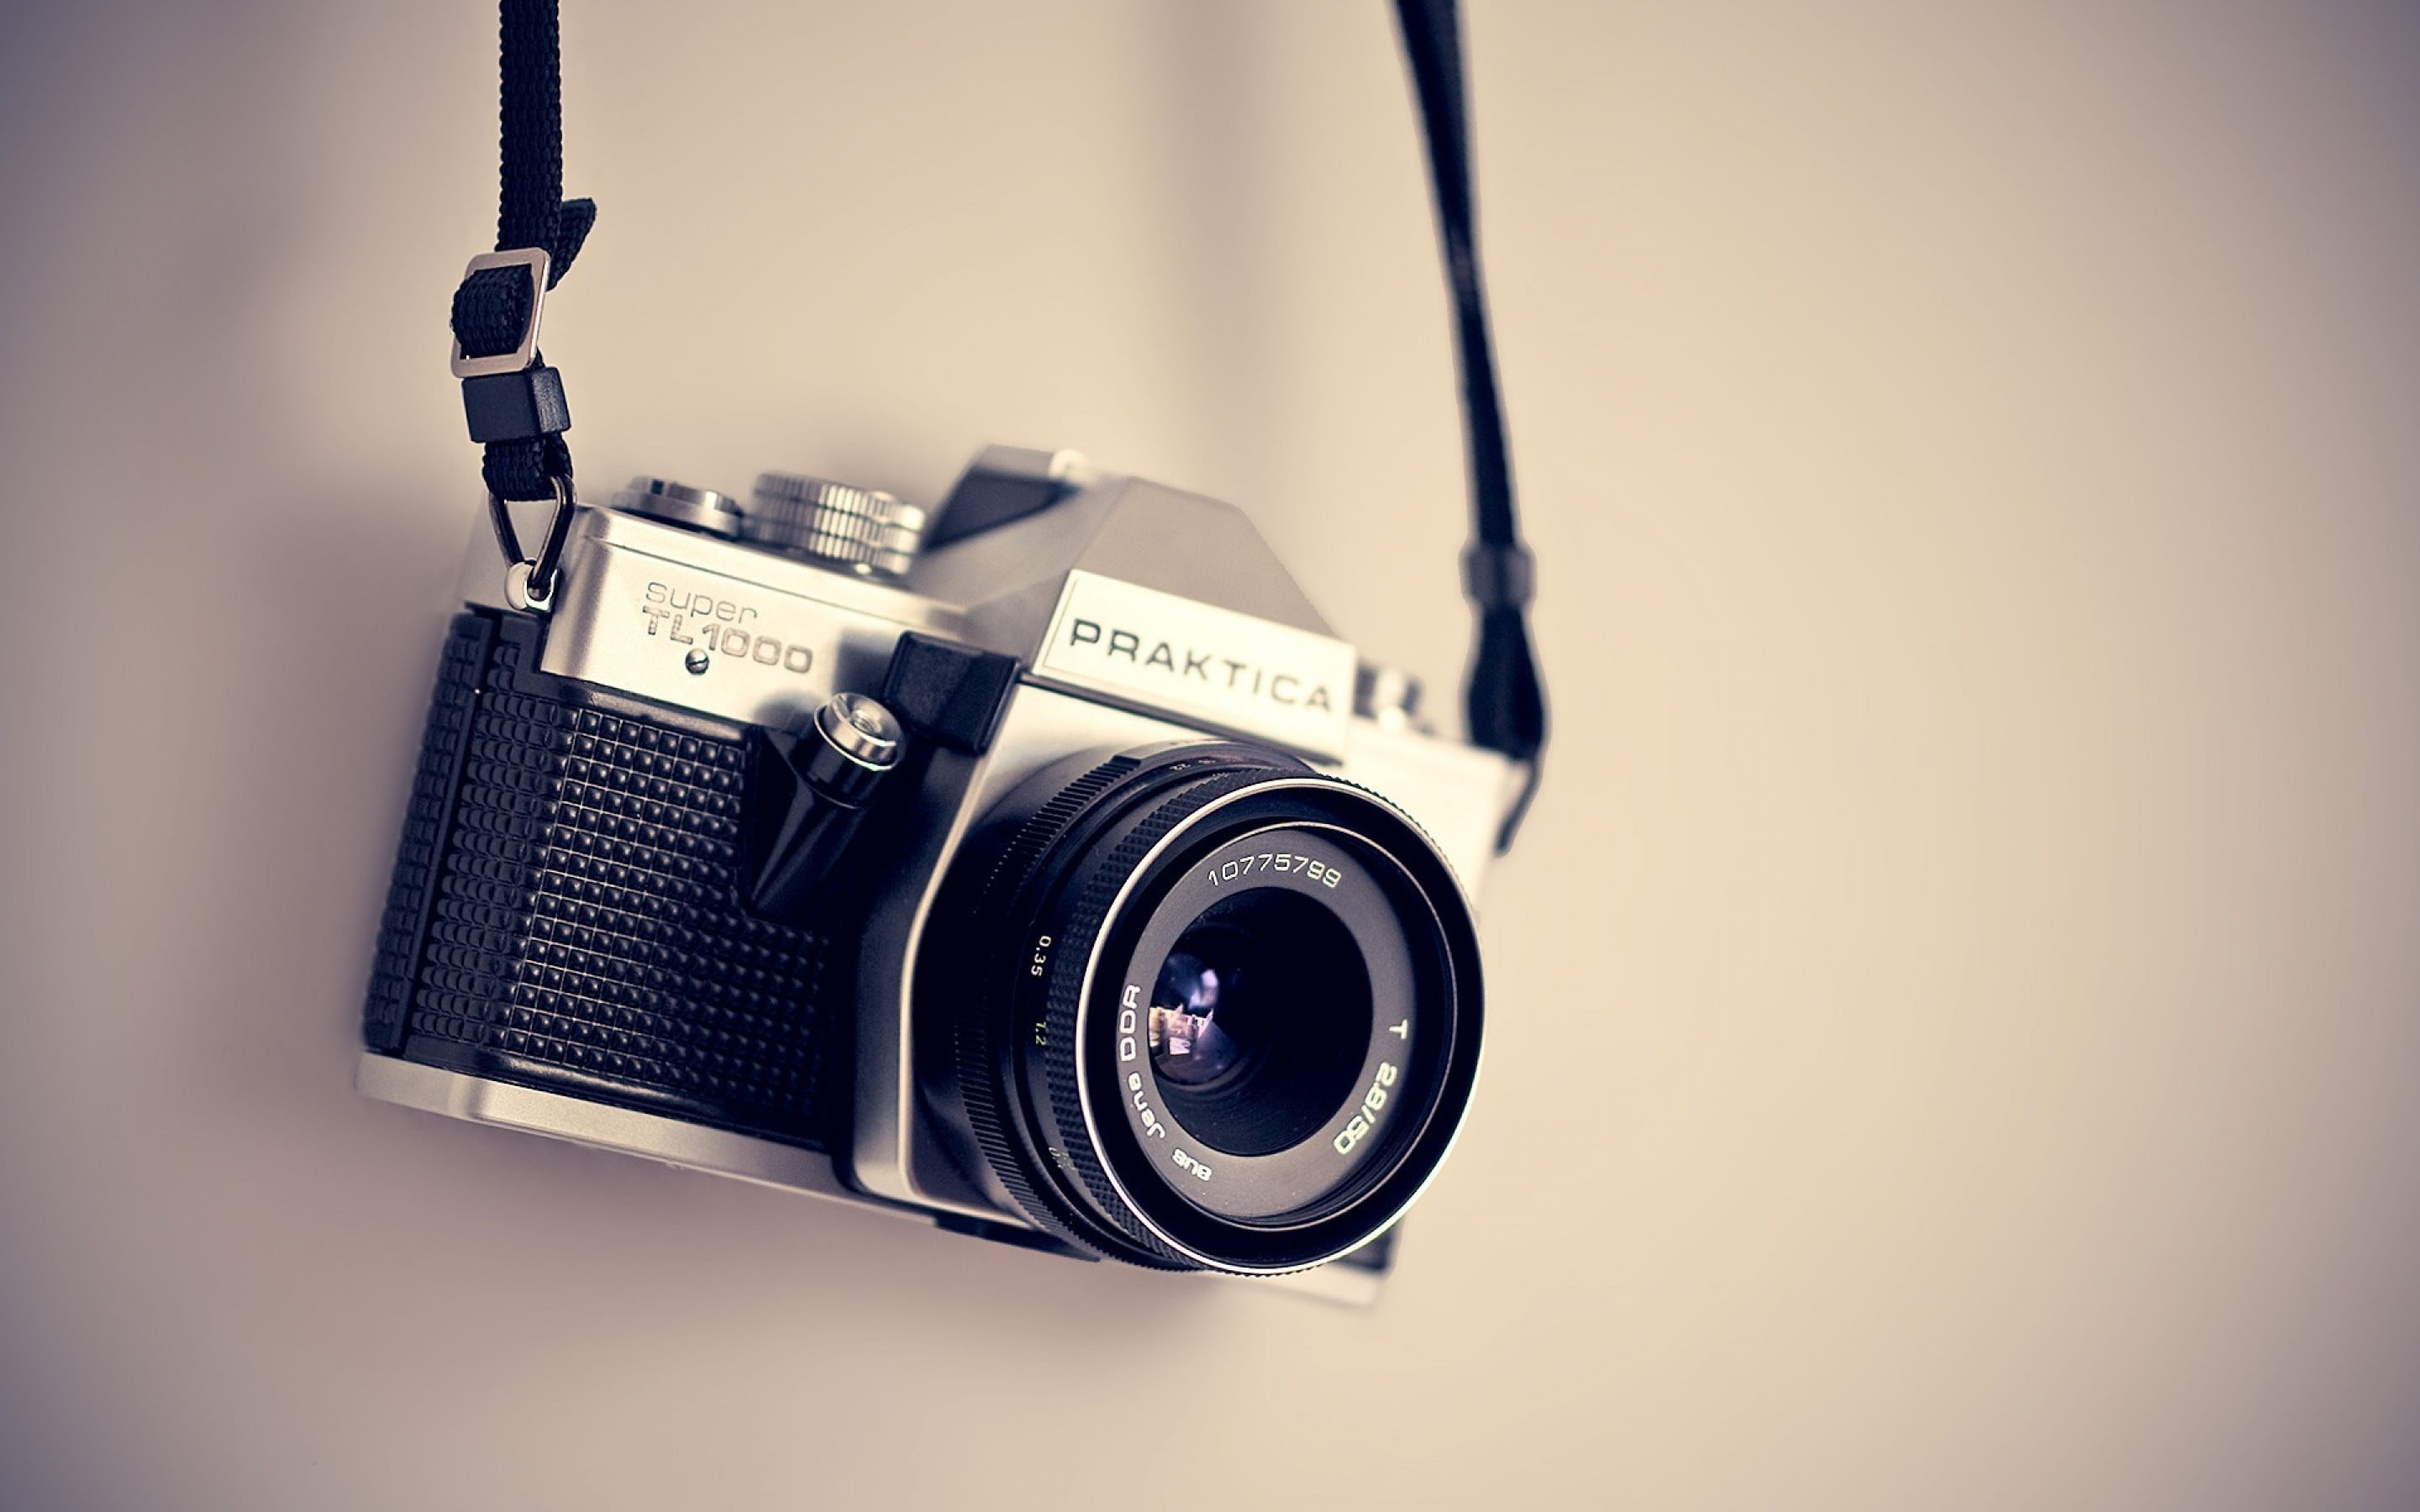
A high quality photo can make all the difference in the online shopping world. Achieving this task might be difficult, so we’re put together a few pointers to help you get the trick down. You don’t need to be a professional photographer, just simply some crucial basics and a LOT of practice.
Shoot Against a White Back Drop
White backgrounds are a major key in getting a great, professional-looking photo of your product.First of all, its reflect white light onto your product, which will help you produce a well-lit photo and really bring out the product’s color. A white background is also a great way to make sure your camera’s white balance is calibrated on point. Light sources have different color temperatures (measured in Kelvin) and while our brains can adjust to these temperatures automatically, a digital camera can only guess the true color of everything in the frame by using a white element as a reference point. By surrounding your product in white, you’ll be able to capture its true color and accurately represent your product. A great background drop is called a sweep. It seamlessly transitions from the vertical to the horizontal surface. The sweep is larger than your product and can fill up the entire camera frame.
Shooting a smaller item? a shooting table works best! you’ll have more flexibility in terms of where you can set up. If you are shooting larger items, it may be a smart idea to invest in a professional sweep. It comes with a stand is easy to set up. Otherwise, you can improvise buy attaching a sheet to a wall or draping it over something.
Use Sufficient Lighting
Artificial, professional lighting can be a very tricky task to get the hang of, so you’re better off just sticking with natural light. Besides, it is free! It can be a great source to product wonderful pictures if you use it correctly.
You want to use the sun indirectly. The best place is to shoot some where near a window. You may want to diffuse the light further by covering the window with a white sheet or taping white paper over the window pane. Note that using any other color to diffuse the light will change the temperature of your light source.
The window should be to the left or the right of the product- never behind or facing the camera. This means the light will hit one side of the product, leaving very distinct shadows. If you use a fill light or reflector. To make your own simply grab a white piece of cardboard and fold it in half. the shinier the surface the better. Alternatively, you can use a regular piece of cardboard and cover it in aluminum foil. This will eliminate harsh shadows and evemly light up your product. If you look at the two photos below, the shadows in the left chair are much darker, particularly on the underside of the product.

Stabilize Your Camera
Stabilizing your camera will create clear sharp images. The best way to stabilize your camera is using a tripod, or a smartphone mount if you are shooting on your phone. Just remember, when purchasing tripods, you get what you pay for.
Understand your Camera
Photography is a very technical and complex field, and there’s a lot to learn when it comes to cameras. You don’t need to be a highly skilled photographer to take a product image that sells, but the first step in improving your product images is to learn how your camera works so you can make the necessary adjustments for better photos.
If you’ve invested in a DSLR, learn the basics of shooting manual. Your aperture is the hole within the lens that determines the amount of light that travels into the camera. It’s measured in f-stops and (this is the confusing part) the higher the f-stop number, the smaller the aperture. The aperture is also linked to your depth of field, which determines how much of the shot is in focus. A smaller aperture will capture everything in the frame, and a larger aperture will isolate the foreground from the background.
The shutter speed refers to how long the hole in the lens is open for, i.e., how long light has to travel through the lens. A smaller aperture lets in less light, so the shutter needs to be open for longer to produce a well-lit photo.
 The ISO determines a camera’s sensitivity to light. The higher you go, the lower the quality of the photo. Never exceed 400 — you’ll see that the image starts to get grainy. This is called camera noise. If you can’t take a well-lit image with an ISO of 100 or 200, you need to increase the lighting, make the aperture larger or slow down the shutter speed.
Ultimately, the perfect aperture-ISO-shutter speed combo will depend on your setup and your product, but a basic understanding of each feature will help you figure out what to adjust.
You can also take high-quality product images on any new smartphone. Sure, you get what you pay for, and DSLRs definitely take much better photos, but there won’t be a huge difference in the end result unless you really know how to use a DSLR to its full potential.
The most important thing to remember when shooting on a smartphone is the phone camera adjusts to its environment. You can’t adjust the aperture, but you can choose a focal point by tapping on the screen. Smartphone cameras automatically adjust the ISO to the lighting conditions, so you’ll need a lot of lighting to keep it below 400. Alternatively, there are Android and iOS apps that give you control over this feature.
Questions or Comments? Don’t below to drop one down below!